Hello everyone,
This is Igor from LikePay.
Let me ask you—have you ever forgotten a step when delivering a Webflow project? Are you making sure to deliver everything without missing anything?
I used to forget important tasks myself. When something gets left out, it can lead to client complaints and even a loss of trust.
But don’t worry!
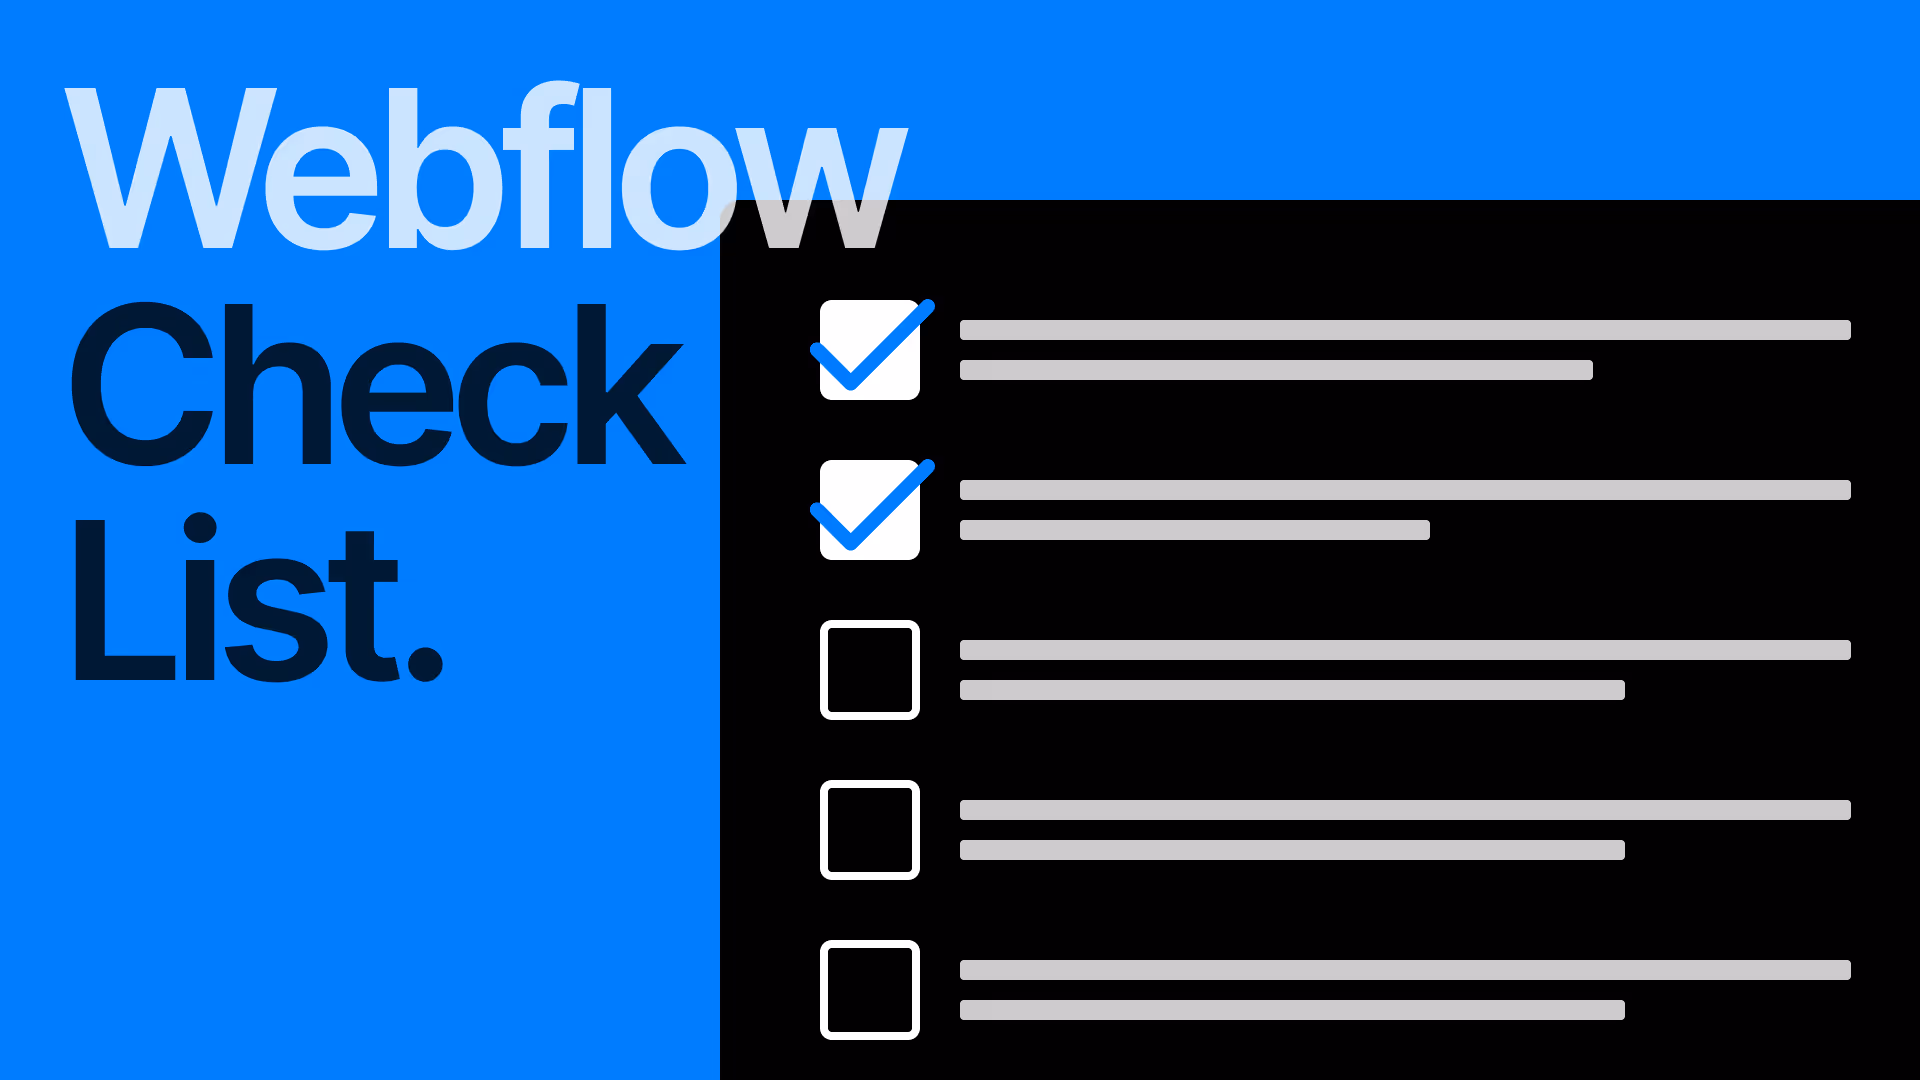
Today, I’m sharing a must-have Webflow Production Checklist Template that will help you ensure the quality of your work.
Click the link below to access and duplicate the Notion template.
For detailed instructions on how to use the template, continue reading below.
Using this checklist will help you reduce mistakes, deliver higher-quality websites, and increase your chances of securing repeat business.
About the Production Checklist Template
This checklist is designed to be used after completing a Webflow website.
The template is built in Notion. You’ll need a Notion account to duplicate it, but Notion is free and very useful. We use it every day at our company to manage all our information—so we highly recommend trying it out!
Page Checklist Overview
Responsive Design
Webflow Term: Responsive
Check whether text and image sizes adjust properly on mobile devices. Responsive design is essential for websites. For more details, see the linked article.

Error Check
Webflow Term: Audit
In the Webflow Designer, you’ll find the Audit panel just above the search icon in the bottom left corner. This helps you identify missing or incorrect elements. Be sure to confirm:
- Only one H1 per page, with a logical heading structure
- Images have alt text
- Elements have unique IDs

Browser Compatibility
Check whether the site displays correctly on browsers like Google Chrome, Safari, and Firefox. Safari often causes layout issues, so test it carefully. You can publish your site in a test environment for browser testing.
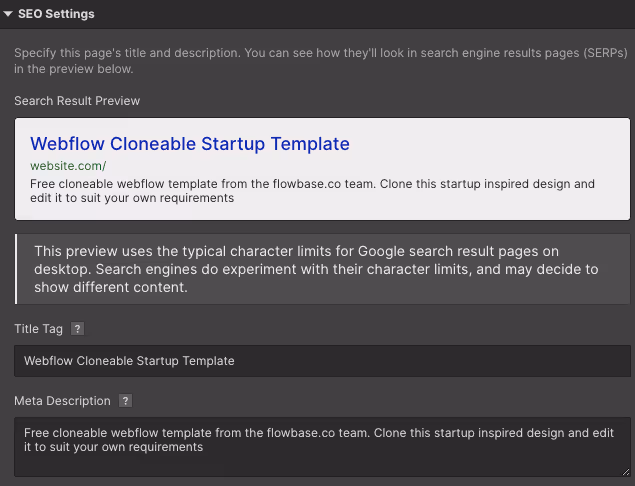
SEO Settings
Webflow Term: SEO Settings
You can configure SEO settings from the page settings panel. Enter keywords and a description that will help your site appear in search results.
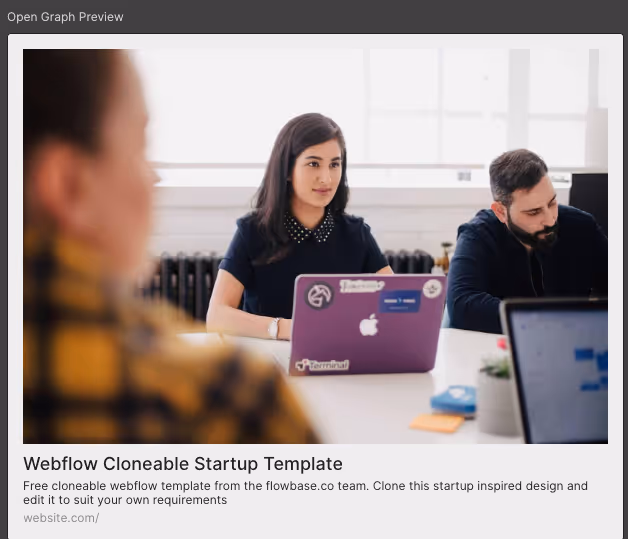
Open Graph (OGP) Settings
Webflow Term: Open Graph Settings
Similar to SEO settings, you can set Open Graph options from the page settings. This allows you to display a thumbnail image when your URL is shared on platforms like Line or Twitter. See the linked article for setup instructions.
Task Phases and Key Settings
Progress Tracking
Record the overall progress of the project.
Link Settings
Check that all buttons and links are properly set to their destinations.
Form Settings
Configure forms to include proper field names and whether fields are required or optional.
Project Settings
In Webflow’s Project Settings, make sure to:
- Set the domain
- Add a favicon
- Configure form handling and other necessary settings
Remove Unused Styles and Animations
From the Style Manager (right side panel), click "Clean Up" to remove unused styles. Delete any unnecessary animations as well.

Image Settings
Set alt text for images via the Assets panel on the left side of the Designer. This helps with SEO.
CMS Settings
If you used the CMS, ensure all content and structure are configured properly.
Search Settings
If your site has a search function, check that pages you want excluded from search are properly configured.
How to Use the Checklist
- First, duplicate the template
Select the Notion template and click "Duplicate" to begin using it. - Fill in project-specific details
Enter the necessary information based on the project. (Remove example content and replace it with your own.) - Customize and clean up as needed
Add sections relevant to your project and delete any that are unnecessary. - Add your signature and the date
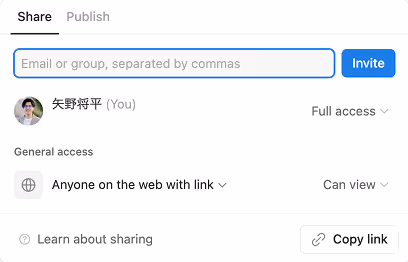
After completing all entries, sign and date the bottom of the page. - Share the checklist with your client
To share, click on "Share" in the upper right corner; select read permission from all users who know the link on the Web.
Final Thoughts
Even experienced creators sometimes overlook things during production. By using and customizing the checklist template I shared today, you can avoid small mistakes and increase your client’s satisfaction.
Looking for more useful checklists?
Check out this list of "15 Things You Might Forget Before Launching a Website!"


.svg)
