How to Buy a Domain: A Beginner-Friendly Guide with Top Registrar Comparisons
How to Buy a Domain in 4 Simple Steps
1. Choose Your Domain Name
Start by picking a name that fits your brand, project, or personal identity.
- Examples:
myportfolio.com,tokyodesign.co,yourshop.net - Tips:
- Keep it short, simple, and easy to remember.
- Avoid using hyphens or numbers.
- Make sure it aligns with your brand or purpose.
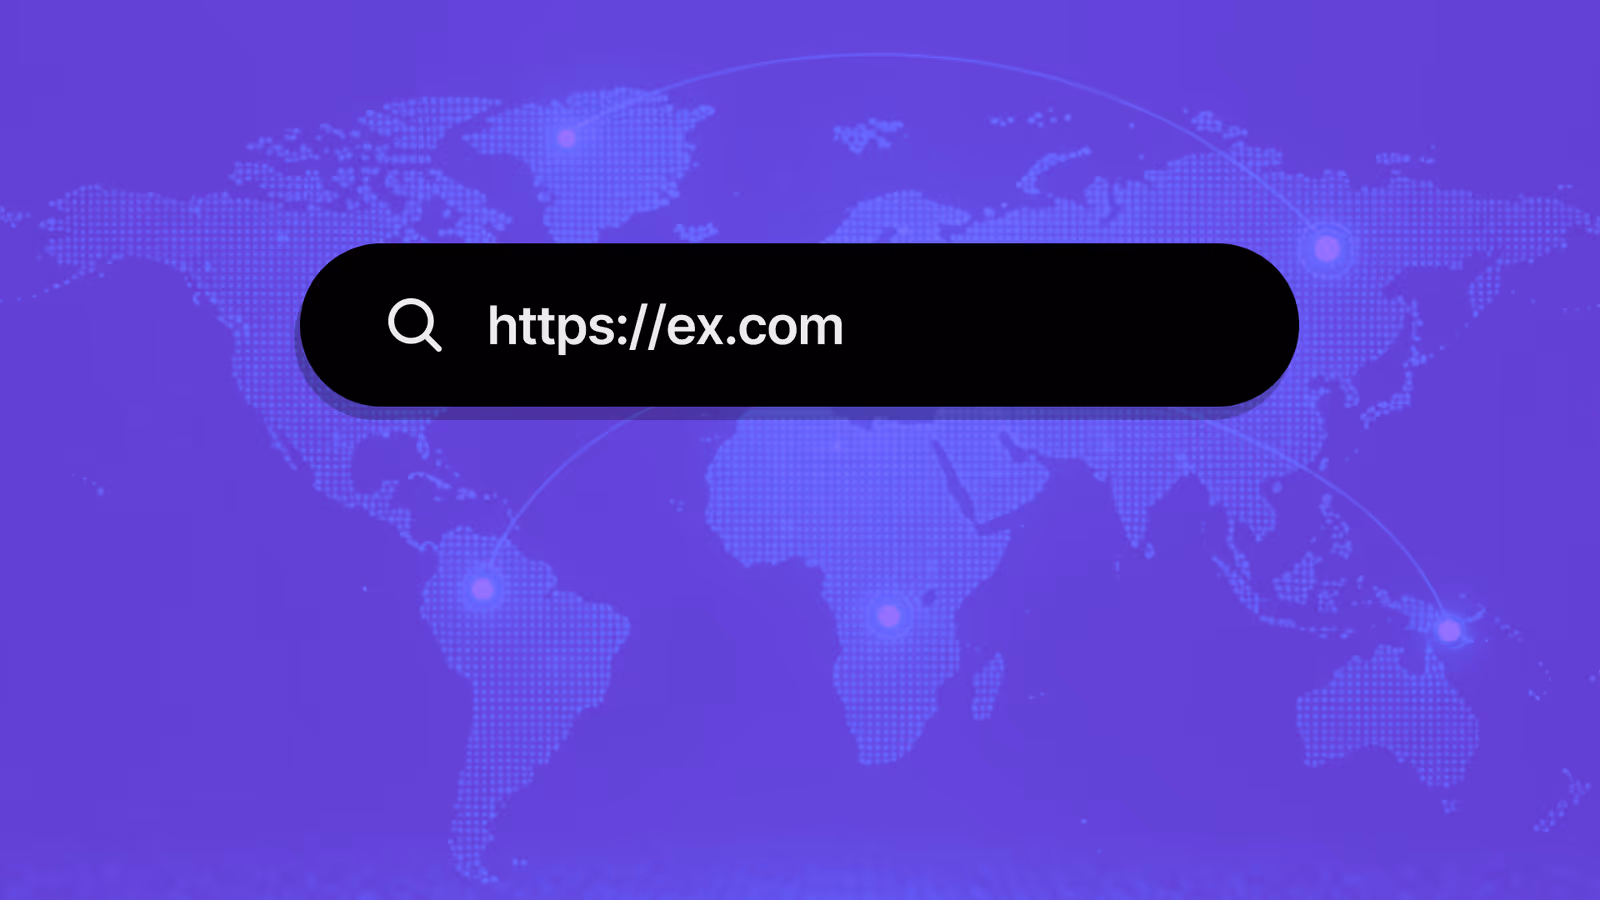
2. Check If It’s Available
Domain names are unique—once a domain is taken, no one else can use it. Use a registrar’s search bar to check availability.
- If your first choice is taken, try different extensions like
.co,.net, or country-specific domains like.io,.ai, or.de. - Have a few backup options just in case.
3. Register Your Domain
Once you find an available domain, you can register it.
- Most domains are purchased on a yearly basis.
- Prices typically range from $10–$20 per year (some more, some less).
- Be sure to enable WHOIS privacy protection if offered—it hides your personal info from public records.
4. Connect Your Domain to Your Website
After purchasing, you’ll need to connect your domain to the tool or platform you’re using to build your site.
- If using a no-code platform like Webflow, you can connect your domain directly from the Webflow dashboard.
- If using a hosting provider, you may need to update your DNS settings.
Top Domain Registrars Compared
Here are four reliable, globally accessible domain name registrars to consider:
1. Google Domains (now part of Squarespace)
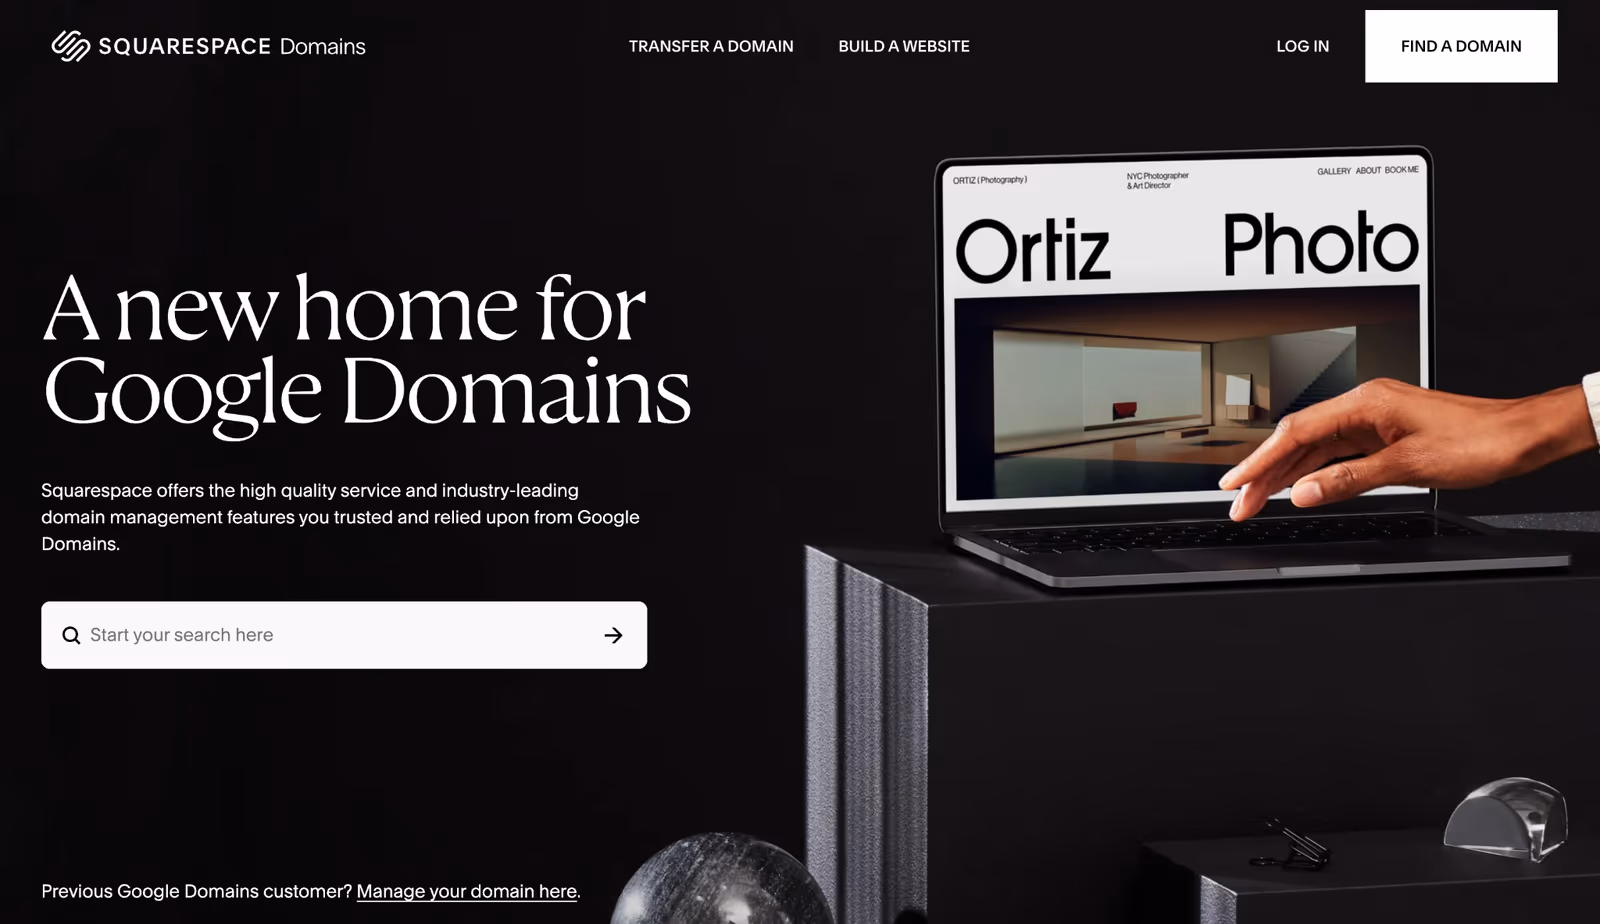
💬 Clean interface, reliable infrastructure, and easy integration with website builders.
- Pros
- Simple, ad-free experience
- Free WHOIS privacy protection
- Easy integration with platforms like Squarespace and Webflow
- Cons
- Slightly more expensive than some competitors
- Limited advanced DNS tools compared to others
Best for: Beginners who want a hassle-free, trustworthy registrar.
2. Namecheap
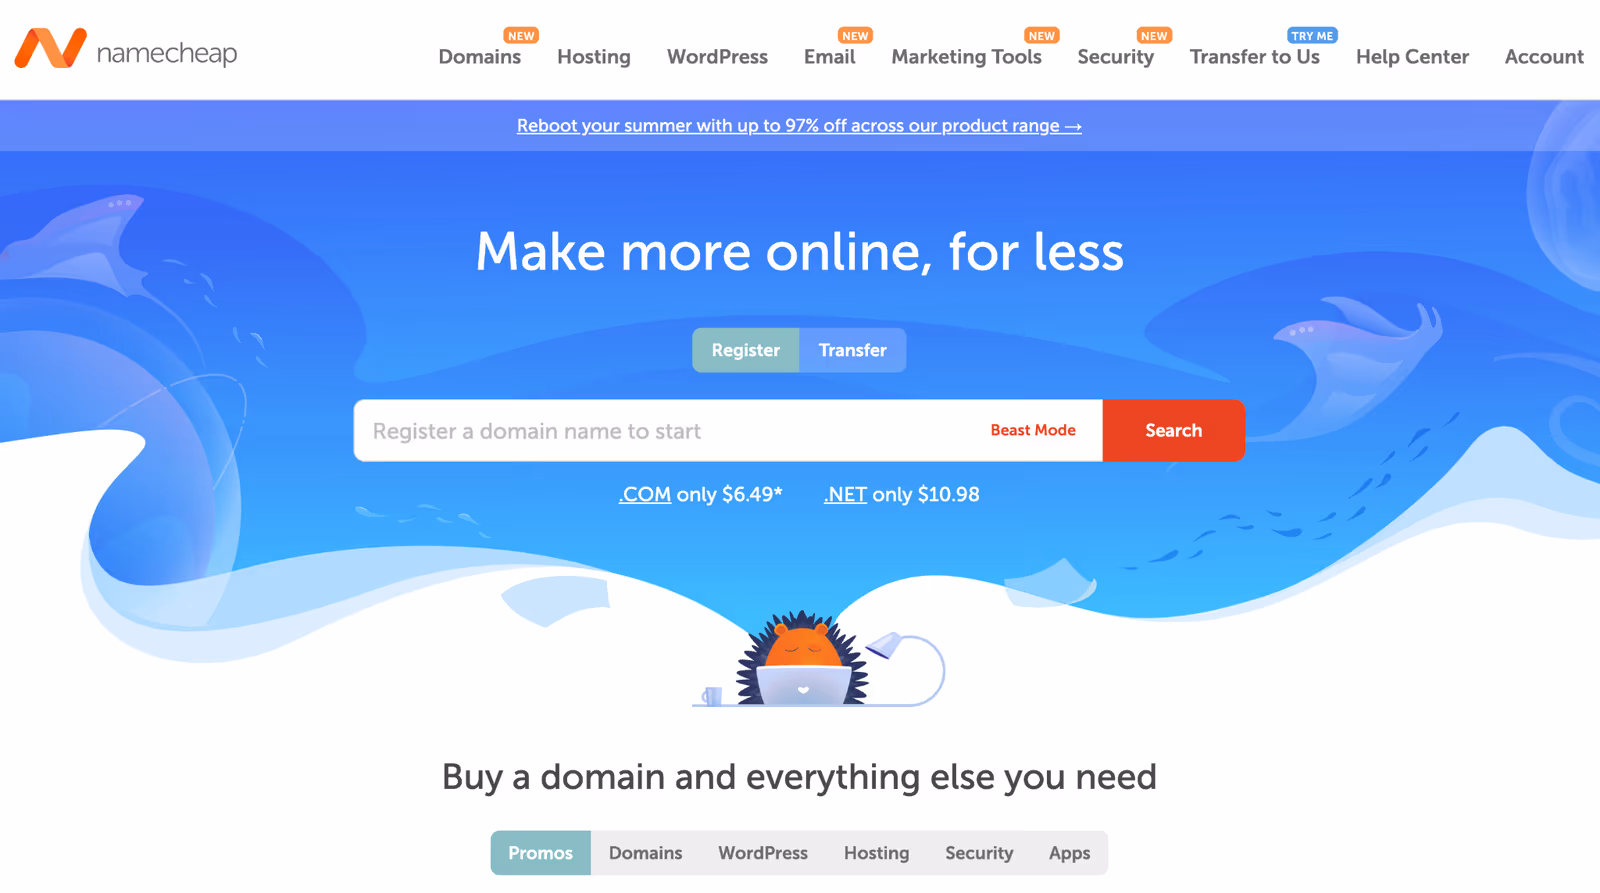
- Pros
- Very affordable pricing
- Free privacy protection
- Clean, beginner-friendly dashboard
- Cons
- Support is mostly in English
- Renewal prices may be slightly higher after the first year
Best for: Budget-conscious users who still want solid features.
3. GoDaddy
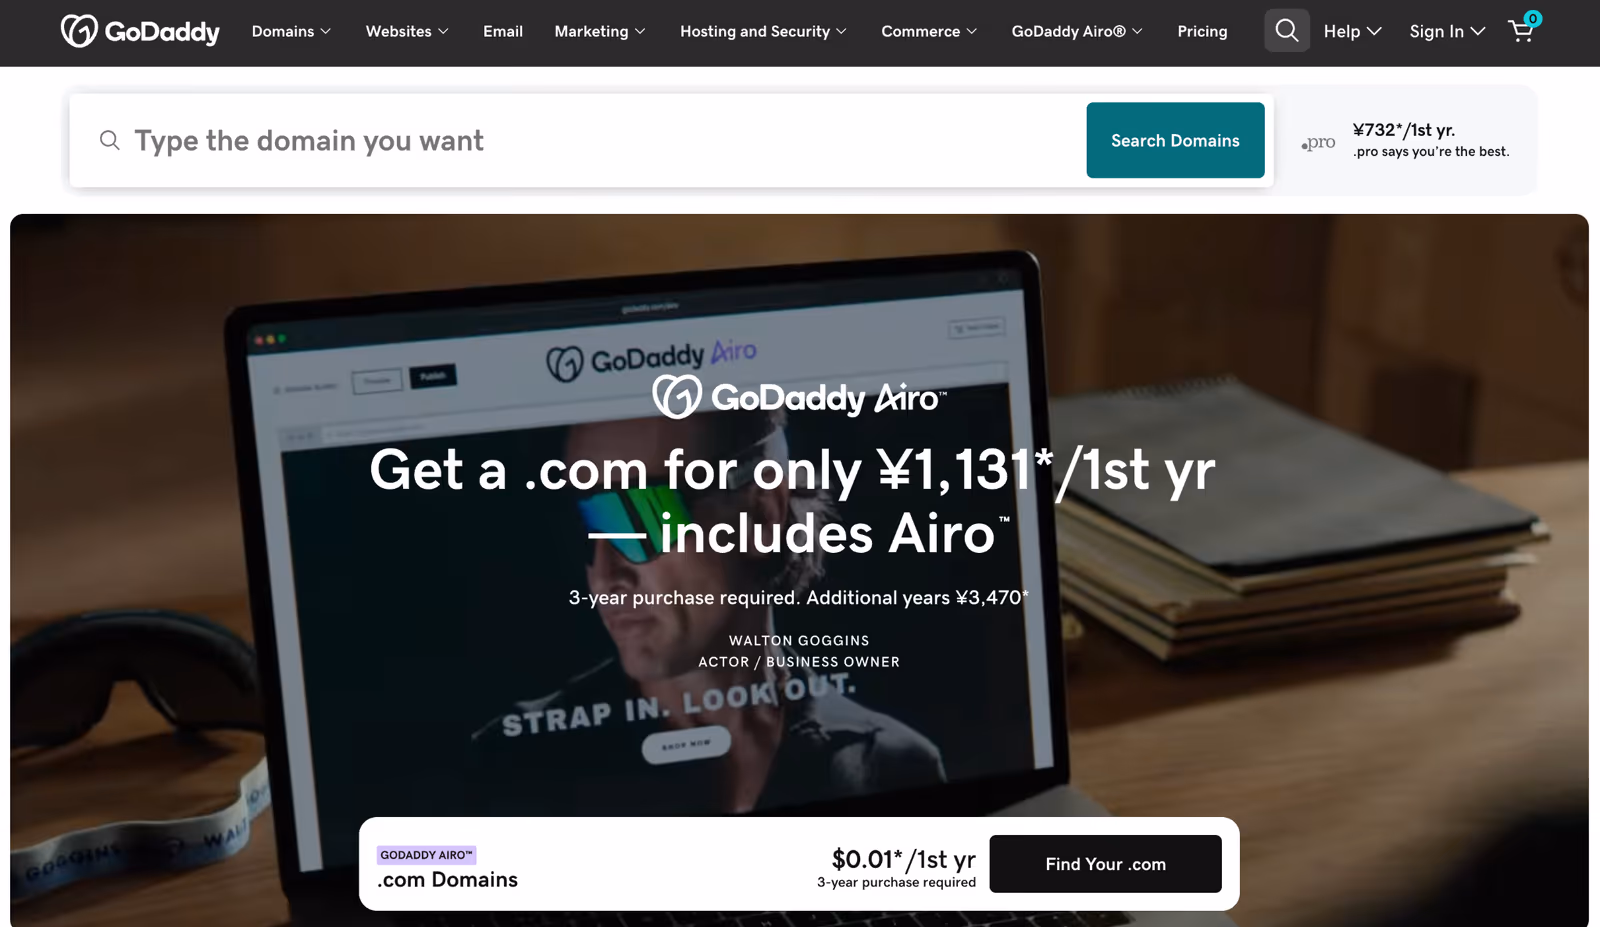
- Pros
- One of the largest registrars globally
- Offers hosting, email, and marketing tools all in one
- Frequent sales and discounts
- Cons
- Heavy upselling and lots of ads in the dashboard
- Price increases after the first year
Best for: Users looking for an all-in-one platform for domain, hosting, and extras.
4. hover

- Pros
- Extremely clean UI, no upselling
- Free WHOIS privacy
- Excellent reputation for simplicity and transparency
- Cons
- Slightly higher prices than Namecheap or GoDaddy
- No web hosting or site builder features
Best for: Users who just want to register domains without the clutter.
Which Registrar Should You Choose?
- Clean and user-friendly experience
→ Google Domains or Hover - Lowest price possible
→ Namecheap - All-in-one service (domain, email, hosting)
→ GoDaddy - No-code website integration
→ Google Domains (via Squarespace or Webflow)
If you’re planning to build your site with a no-code tool like Webflow, make sure the registrar you choose makes it easy to connect your custom domain.
Once You Have Your Domain, What’s Next?
Now that you’ve secured your domain, it’s time to build your site. If you’re not sure where to start or feel overwhelmed by web design and hosting…
👉 Check out Supasaito Academy – an online course designed to help you build professional websites using Webflow, no coding required.
- Learn Webflow step by step
- Understand how to connect domains
- Master modern, responsive design techniques
Final Thoughts
Buying a domain name is your first real step into the world of web creation. And while the process is simple, choosing the right registrar can make all the difference in ease of use, privacy, and long-term satisfaction.
Pick a service that suits your needs, secure your domain—and start building your dream site.