Activate membership plan to start learning.

Redefine Text Reveal Animations With Webflow’s Custom Element

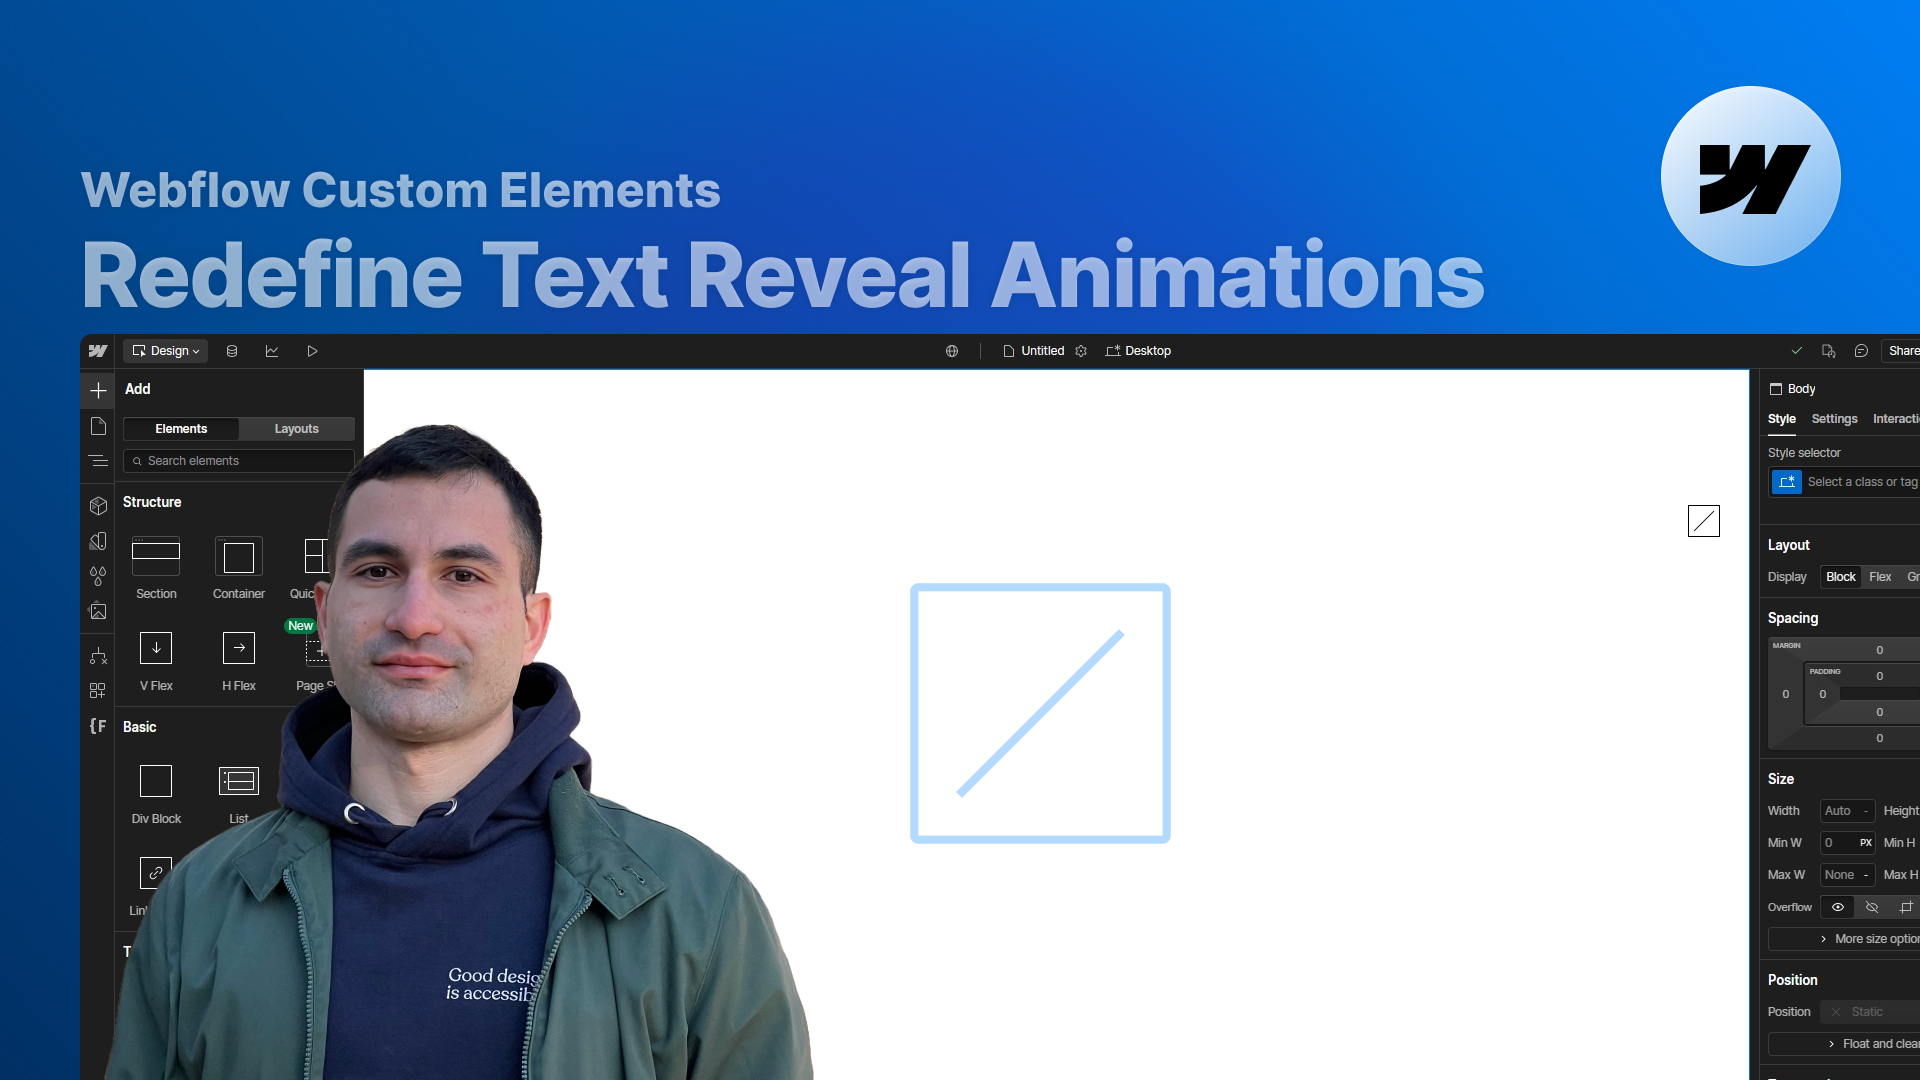
Learn a new, no-code way to build reusable text reveal animations in Webflow using the Custom Element, with examples for headings and buttons on scroll and hover.

アクセス制限

レッスン動画を閲覧するには、会員登録が必要です

レッスン動画を閲覧するには、会員登録と有料プランの加入が必要です

アクセス制限

レッスン動画を閲覧するには、有料プランの加入が必要です。

Lesson's Content

Redefine how you build text reveal animations in Webflow with a workflow that is reusable, scalable and completely no-code.

In this lesson, you’ll learn how to use Webflow’s Custom Element to create a single, flexible setup that you can reuse across headings and buttons, without duplicating complex timelines or writing custom JavaScript.

What you’ll learn in this tutorial

By the end of the video, you’ll know how to:

  • Use Webflow’s Custom Element as the foundation for text reveal animations
  • Rebuild the classic “letter-by-letter” reveal without manually targeting each span in the timeline
  • Add smooth motion using CSS transform transitions instead of heavy interaction timelines
  • Control transition delay per letter using inline styles, to create clean staggered effects
  • Apply the same logic to:
    • Single-line headings on scroll
    • Multi-line headings on scroll
    • Button labels on hover

You’ll also see how this approach reduces the amount of animation code Webflow injects into your project, helping you keep things lighter and more maintainable.

The “old way” of building text reveal animations

Before Custom Elements, a typical setup for text reveal animations in Webflow looked like this:

  • Set the heading’s overflow to hidden so it acts as a mask
  • Wrap each letter in a span, one by one
  • Add a base class to make spans inline-block so transforms work
  • Create a timeline action for every single span, with individual delays
  • Update the animation whenever the heading text changes or gets longer

This works, but:

  • It’s slow to build (lots of manual steps)
  • It’s hard to scale to multiple headings
  • It breaks easily when you change the content
  • It doesn’t play nicely with multi-line headings using native Webflow elements

The “new way” with Webflow’s Custom Element

With the new approach, you’ll use Webflow’s Custom Element to generate the HTML structure you need, while keeping the animation logic extremely simple.

The core ideas:

  • Turn the Custom Element into an h2 (or the tag you need)
  • Wrap all letters inside a span wrapper that moves as a group
  • Use a parent wrapper with overflow: hidden to act as the mask
  • Handle all the actual animation with:
    • A single move transform in the interaction timeline
    • A transform transition on the span class
    • A transition-delay defined inline per letter via the style attribute

Result:

You get a full letter-by-letter text reveal using one initial state + one action in the timeline. All the staggered motion comes from CSS, not from a huge list of interaction steps.

Practical examples covered in the lesson

In the video, you’ll build three concrete examples you can copy into your own projects:

1. Single-line heading text reveal on scroll

Create a classic staggered reveal for a single-line h2 that animates when it scrolls into view.

You’ll see how to:

  • Mask the text with a wrapper
  • Move the span wrapper down (initial state)
  • Animate it back up with one action
  • Control the timing letter by letter using transition-delay

2. Multi-line heading text reveal on scroll

Extend the same setup to headings that wrap onto multiple lines, without changing the animation logic.

You’ll:

  • Duplicate the “heading line” wrapper for each line of text
  • Adjust the transition-delay values per line to create a smooth, cascading reveal
  • Keep the exact same scroll interaction, applied once to the whole heading

3. Button text reveal on hover

Finally, you’ll adapt the technique to build a button hover animation where:

  • One line of text slides out
  • Another line of text slides in from the bottom
  • Both lines are made of spans with CSS-controlled delays
  • The button wrapper acts as the mask for the animation

Even here, the hover interaction relies on just one action for hover in and one for hover out — everything else is handled through CSS transitions and inline delays.

Why this approach is better

This Custom Element–based setup helps you:

  • Save time – drastically fewer steps in the interaction panel
  • Scale easily – reuse the same structure and logic across multiple headings and buttons
  • Support multi-line text without hacks that hurt accessibility
  • Reduce animation code generated by Webflow, helping performance on animation-heavy pages
  • Stay no-code – everything is built with native Webflow tools, HTML tags and CSS transitions

Who this tutorial is for

This lesson is perfect if you are:

  • A Webflow designer or developer who wants cleaner and more maintainable animations
  • Someone who often builds text-heavy layouts and wants consistent reveal effects
  • A no-code creator looking for ways to push Webflow’s native tools further, without relying on external JavaScript
  • Already familiar with Webflow Interactions and ready to level up your animation workflow

If you want to build smoother, smarter text reveal animations that you can reuse across projects, this tutorial gives you a solid, future-proof foundation.

Course Lessons

No items found.

Learning Progress

Press "Finished" after you watched the lesson to track your progress