AI Search
Just by entering a keyword, the AI automatically picks up relevant lessons, documents, and information.
Searching...
"yyyyy"の結果:xxx 件
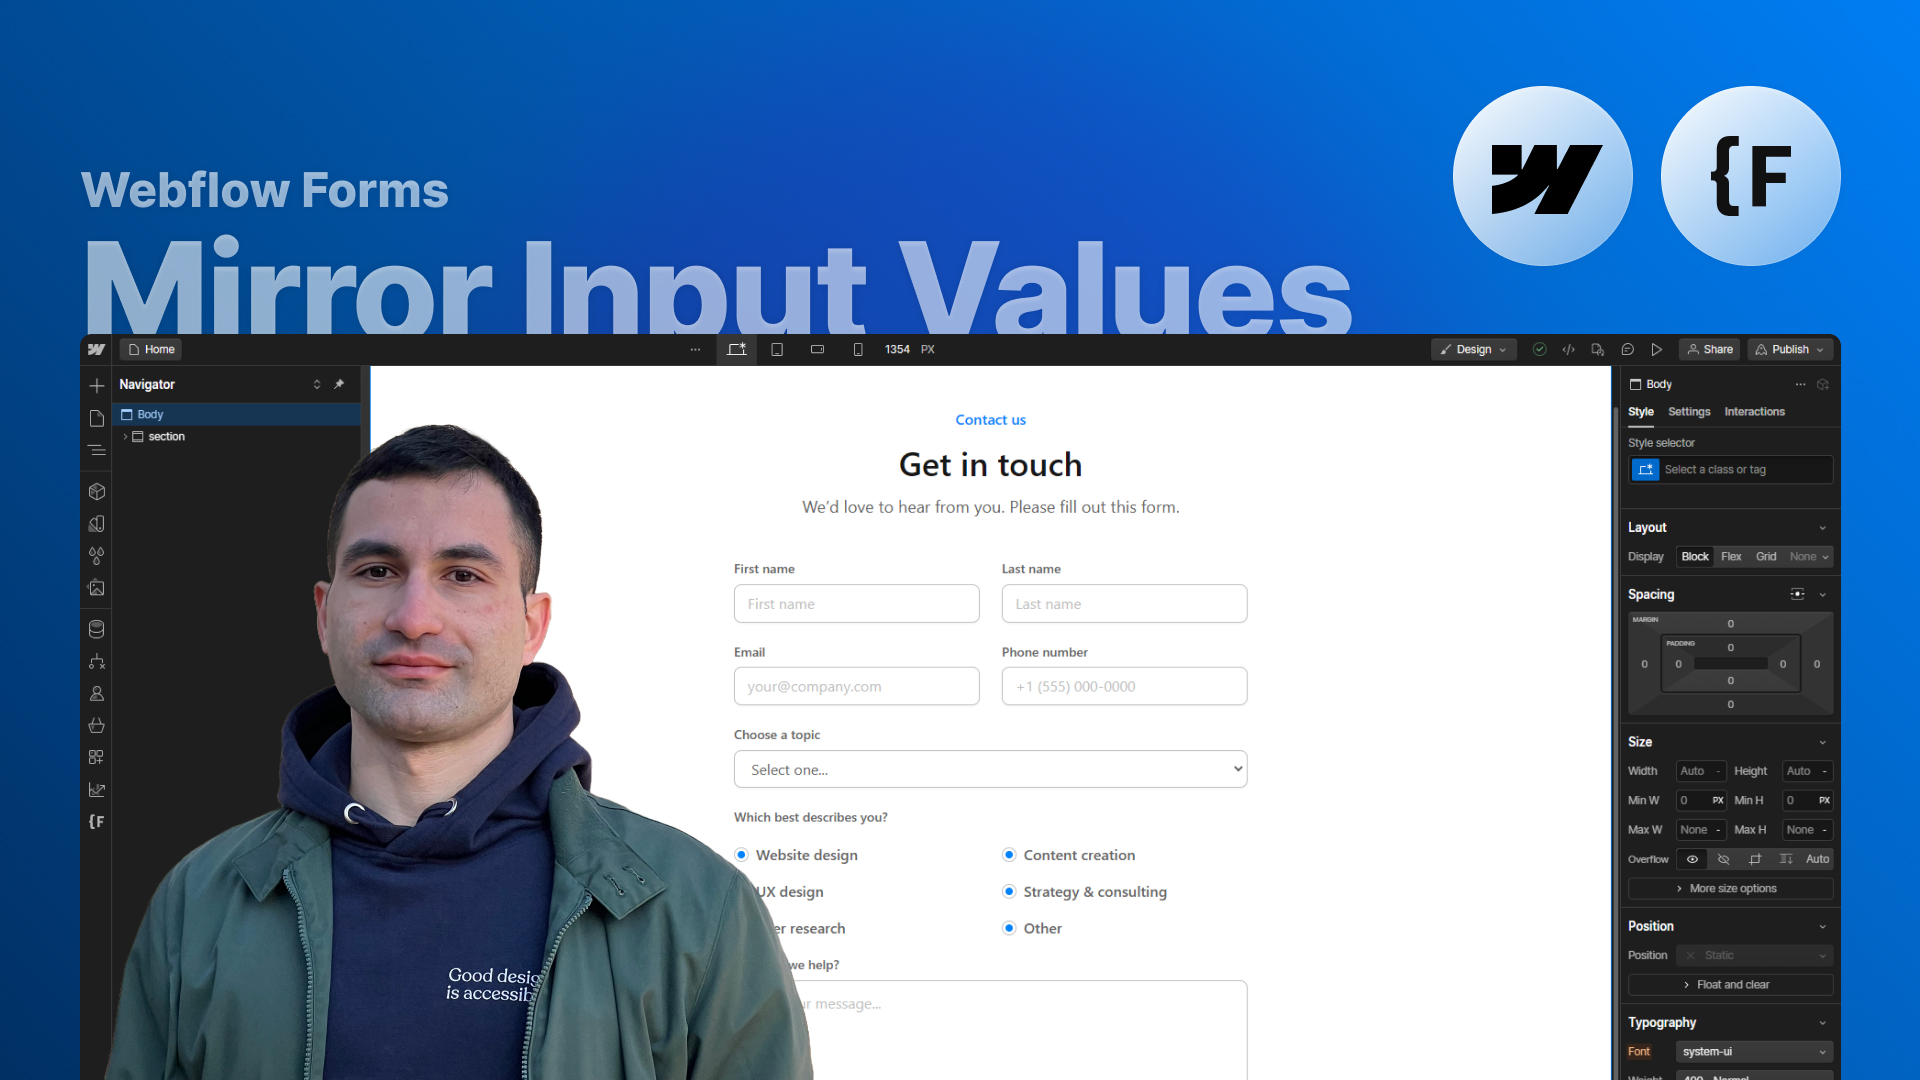
Learn how to sync input fields in real-time using Finsweet’s Mirror Input Values. In this lesson, you’ll discover how to set up the attribute, understand how triggers and targets work, and apply the solution to three practical Webflow use cases.
In this lesson, we explore one of the simplest yet most powerful features in the Finsweet Attributes library: Mirror Input Values. This solution allows you to sync the value of one input field to another in real time, without writing a single line of code. Whether you’re creating dynamic previews, enhancing long forms, or making your UI feel more responsive, this attribute can significantly elevate the user experience in your Webflow projects.
Finsweet’s “Mirror Input Values” attribute lets you connect two or more input fields so that typing into one immediately updates another. It works with:
You simply assign one element as a trigger and another as a target, matching them with corresponding attribute values. Once published, any change in the trigger is instantly reflected in the target — ideal for personalization, previews, and duplicated fields.
The first example shows how to create a real-time greeting that updates as the user types their name.
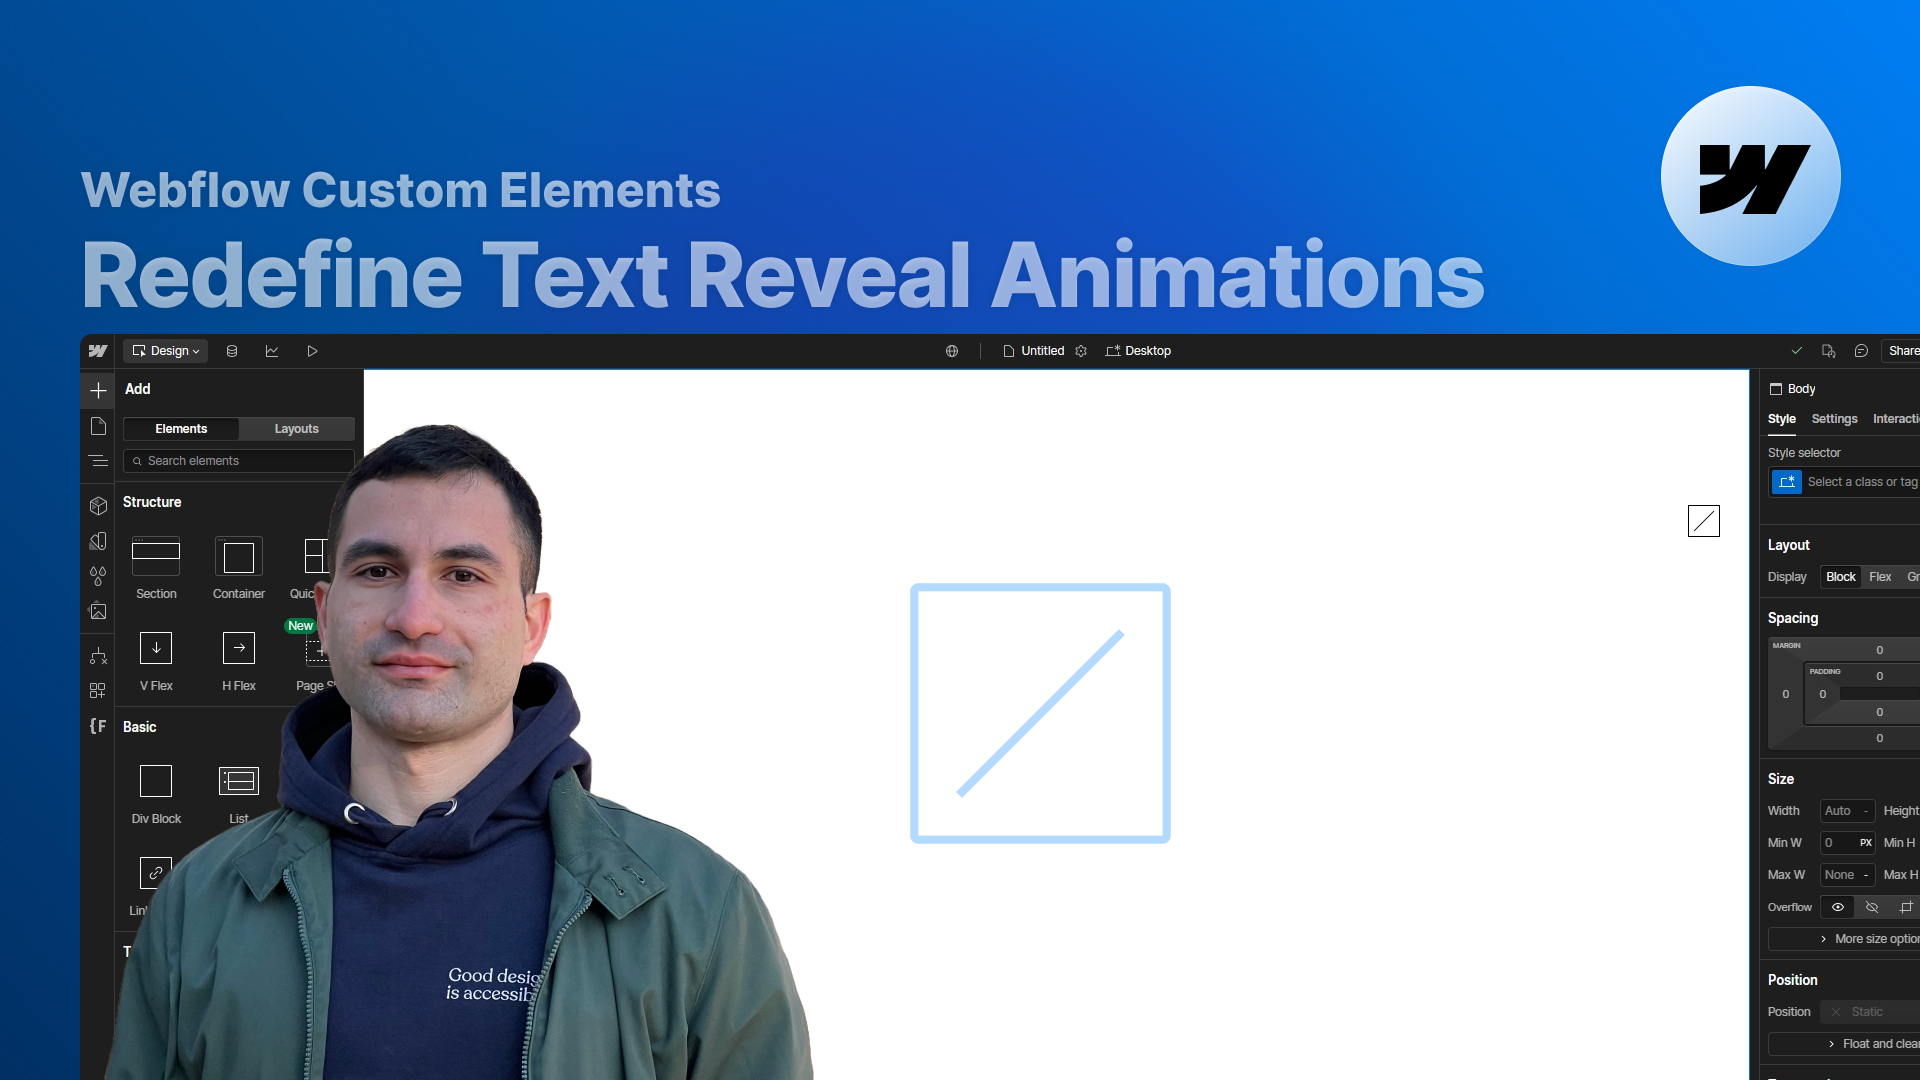
You start with a standard text input field acting as the trigger, then convert a Webflow Custom Element into a text input field to use as the target.
By setting:
…you instantly mirror the typed name in the greeting above.
This technique is simple, intuitive, and great for onboarding flows or friendly UI messages.
Next, we look at how to build a live preview for cards, emails, or messages.
This setup uses two triggers:
Each one updates a corresponding target inside a postcard layout.
By assigning:
…the right preview area updates instantly as the user types.
This approach is perfect for creating dynamic templates, interactive demos, or any UI that benefits from live text rendering.
The third example focuses on improving long or repetitive forms, like checkout or registration flows.
Imagine a user typing their shipping address, and you want the same value to appear under billing address to save time and reduce errors.
By assigning matching trigger/target attributes to each pair of fields — including text inputs and select fields — you can mirror the values automatically.
Users retain full control: once mirrored, they can still edit the target field independently if the information needs to change.
Before adding mirroring everywhere, keep these guidelines in mind:
Apply mirroring only when it genuinely improves the user experience — not just because it’s available.
If two fields mirror each other, make sure their labels match. This prevents confusion and makes the form feel more intuitive.
Mirror Input Values is a small but incredibly impactful feature of the Finsweet Attributes toolkit. With just a few attributes, you can build responsive, interactive experiences in Webflow — from personalization to real-time previews and smarter forms.
Try it out in your next project and explore how far you can take it.
You’ll find the cloneable project and all resources linked below the video on YouTube.
Press "Finished" after you watched the lesson to track your progress