AI Search
Just by entering a keyword, the AI automatically picks up relevant lessons, documents, and information.
Searching...
"yyyyy"の結果:xxx 件
A no-code, attributes-only solution to build a reusable custom video popup in Webflow. You’ll learn how to autoplay and pause Vimeo videos, connect multiple buttons and popups, turn the popup into a component, and bind everything to the CMS.
Custom video popups are one of those things that seem simple… until you try to make them flexible, reusable, and easy to maintain.
In this lesson, we build a custom video popup in Webflow using only attributes + Webflow’s Custom Element, no custom coding required on your side.
You’ll see how to:
All of this is powered by a small script (already included in the project) and a set of simple, consistent attributes. Your main job is just to structure the popup correctly and apply the right attributes to the right elements.
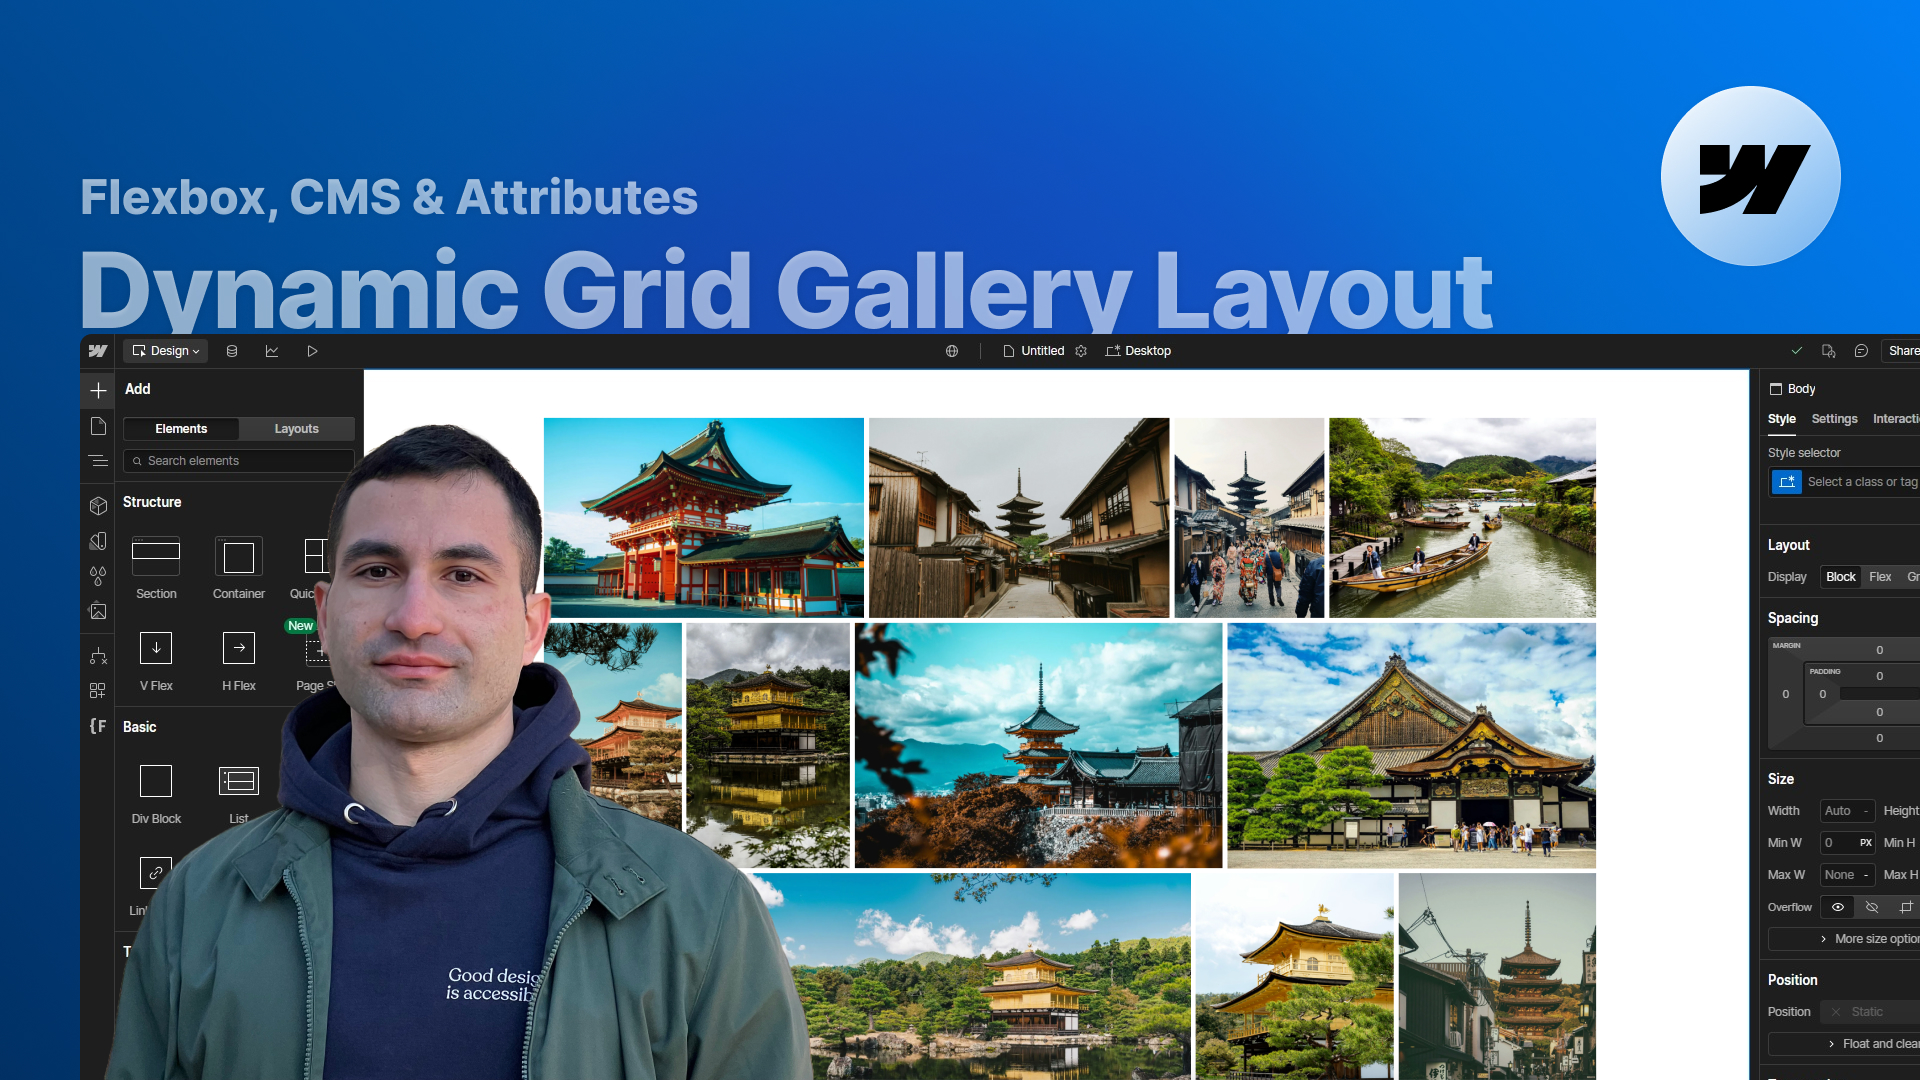
We start from the free Scrollvibe Webflow template and identify the element that will open our popup (the “Trailer” link sitting on top of the background video).
Our goal:
All the logic is handled by a script that lives inside the component, but you only need to work with the attributes.
The heart of the solution is the popup overlay element – our actual “component”.
Key settings:
The important part is the attribute:
This tells the script: “this is the main popup component”.
We also add two optional attributes:
These attributes let you tweak the “feel” of the popup without touching the code.
Inside the popup overlay we have:
As long as an element has fc-video-popup="close", it will act as a close trigger.
The core of the popup is a Webflow Custom Element turned into an iframe.
Steps:
To get the correct Vimeo link:
Additional attributes:
Important: in this version, the solution only supports Vimeo.
If you need YouTube or self-hosted video, the script would need an update.
On top of the iframe we have:
Behavior:
This gives you a more branded, controlled player experience instead of relying only on the default Vimeo controls.
To open the popup we simply add:
…to any element we want to use as a trigger.
Examples:
Both can open the same popup as long as:
To add more popups on the same page:
One crucial detail:
To reuse the solution across pages, we turn the popup overlay into a Webflow component.
Inside the component we create properties for:
This way, every instance of the component can have:
…and you can decide which instance should actually render the script.
On the CMS side we use a simple Collection with fields like:
On the Collection Template page:
Result:
By the end of the lesson you’ll have a reusable, CMS-ready video popup that:
All without writing custom code in the Webflow Designer – just attributes and a ready-made script embedded in the project.
Press "Finished" after you watched the lesson to track your progress
